Set up a Custom Domain
Point your own domain at a seenode web service, with automatic HTTPS.
Every web service is reachable at a default *.seenode.app URL. You can also point your own domain (such as example.com) at the service. seenode issues and renews a free TLS certificate automatically, so your domain is served over HTTPS.
Note (Web Services only)
Custom domains apply to Web Services. Worker services have no public URL.
Prerequisites
- A deployed Web Service.
- A domain you own, with access to edit its DNS records.
Add the domain
-
Open the Domains tab
Select your web service, open the Domains tab, and click Add custom domain.
-
Enter your domain
Type the domain you want to use (for example,
example.com) and click Get DNS config. -
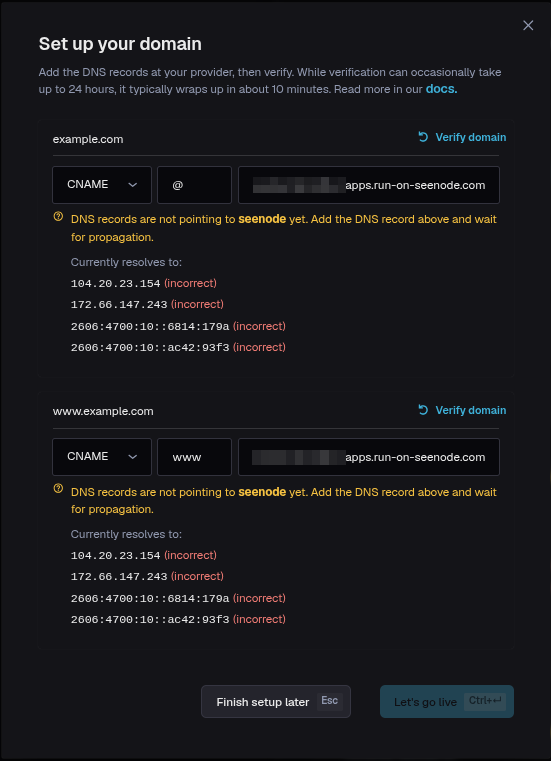
Copy the DNS records
seenode shows the records to create: a
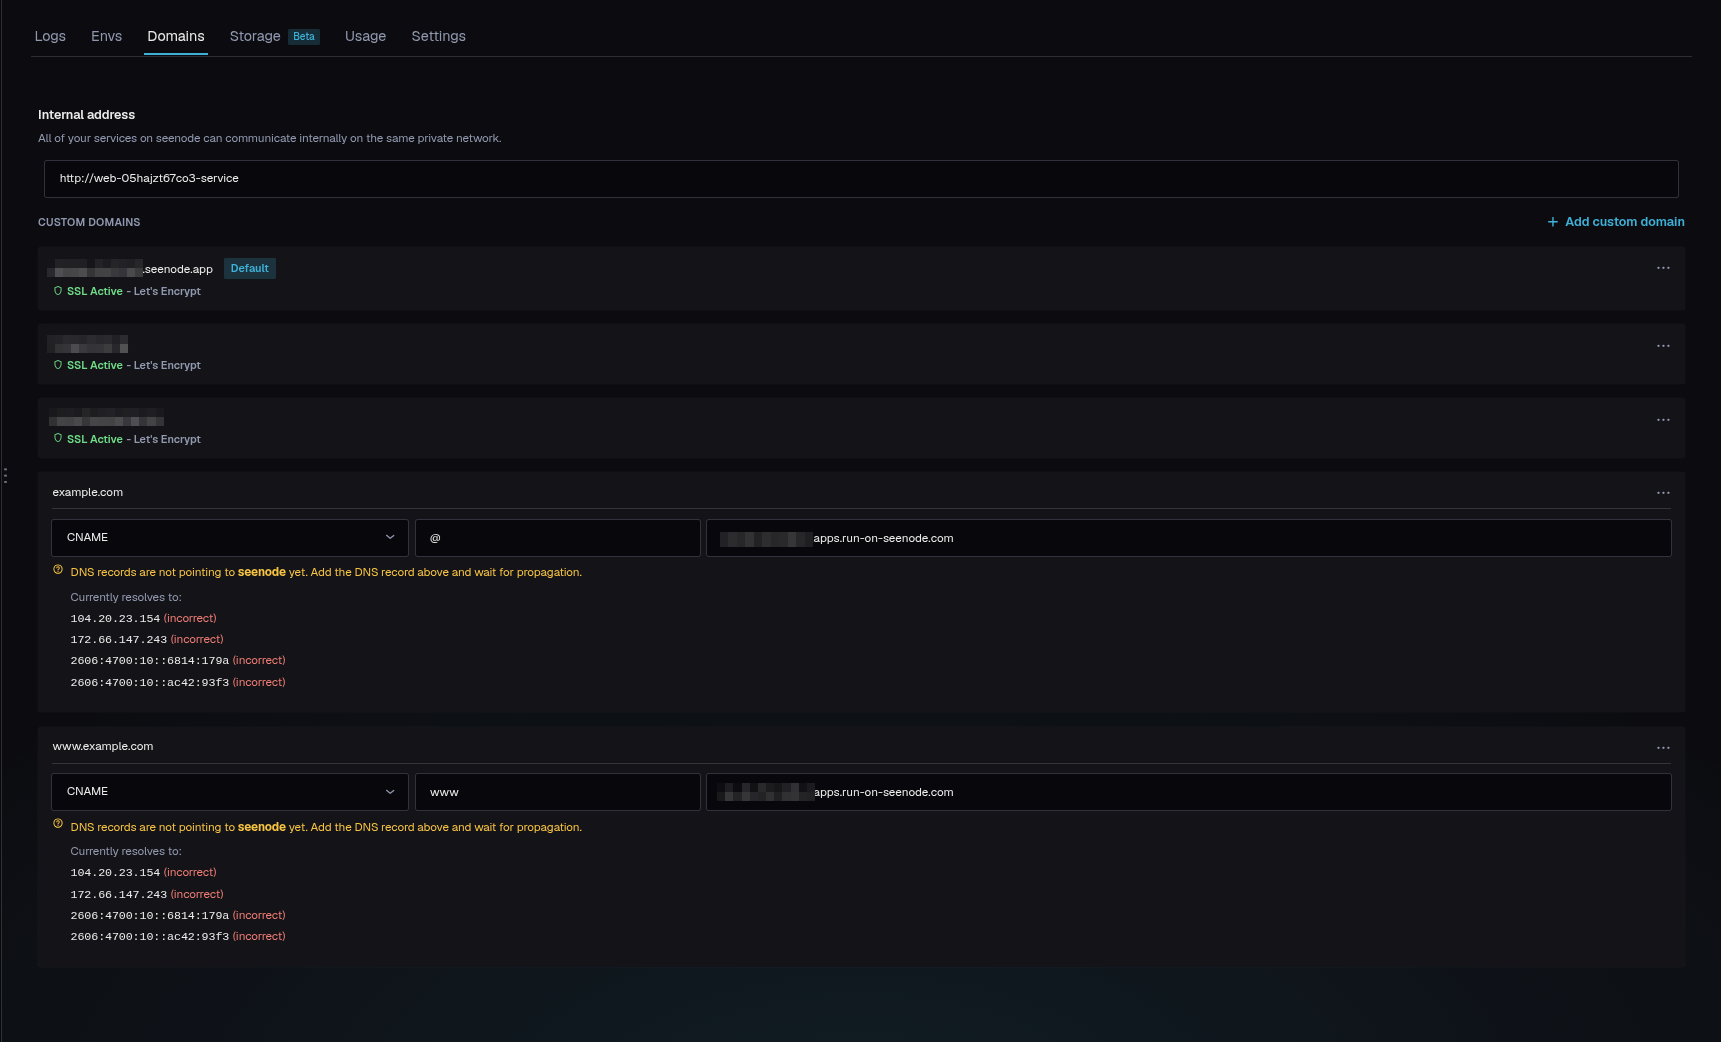
CNAMEfor the apex (@) and aCNAMEforwww, both pointing at the target shown in the dashboard (an…apps.run-on-seenode.comhostname). -
Add the records at your DNS provider
Create the two
CNAMErecords exactly as shown.Tip (Apex domains and Cloudflare)
A
CNAMEon the apex (@) is only valid on providers that support CNAME flattening, such as Cloudflare. If you use Cloudflare, keep the records DNS-only (grey cloud, not proxied) so seenode can validate the domain and issue the certificate. -
Verify and wait for SSL
Back in seenode, use Verify domain (from the domain’s ⋯ menu) to check the records. Once they resolve, seenode provisions a Let’s Encrypt certificate automatically; the domain shows SSL Active within a few minutes. Verification usually completes in about 10 minutes but can take up to 24 hours to propagate.
Manage a domain
From each domain’s ⋯ menu you can:
- Verify domain: re-check the DNS records.
- Set as default: make this the primary domain for the service.
- Delete domain: remove it from the service.
Once verified, the Domains tab shows each domain with SSL Active, alongside your default *.seenode.app URL and the service’s internal address: