

Deploy Flask App on Seenode | Flask Hosting & Deployment Guide
This guide will walk you through deploying your existing Flask application on seenode. We’ll use Gunicorn as our production WSGI server.
Prerequisites
Section titled “Prerequisites”Before you begin, ensure you have:
- A seenode account at cloud.seenode.com
- Git configured on your machine
- Existing Flask project ready to deploy
Configure for seenode Deployment
Section titled “Configure for seenode Deployment”Application Structure
Section titled “Application Structure”Ensure your project is configured for production. Your project should have an app.py file and a requirements.txt. seenode will look for an app instance in your app.py file.
from flask import Flask
app = Flask(__name__)
@app.route("/")def hello_world():    return "Hello, from Seenode!"
Requirements
Section titled “Requirements”Your requirements.txt should include flask. For production, we also recommend a WSGI server like gunicorn:
flaskgunicornDeploy on seenode
Section titled “Deploy on seenode”Push to Git
Commit your project and push it to GitHub or GitLab.
Create a Web Service
From the seenode Dashboard, create a New Web Service, connect your Git provider, and select your Flask project’s repository.
Configure Build & Start
Configure your service’s settings. For a typical Flask app, use:
- Build Command: pip install -r requirements.txt
- Start Command: gunicorn app:app --bind 0.0.0.0:80
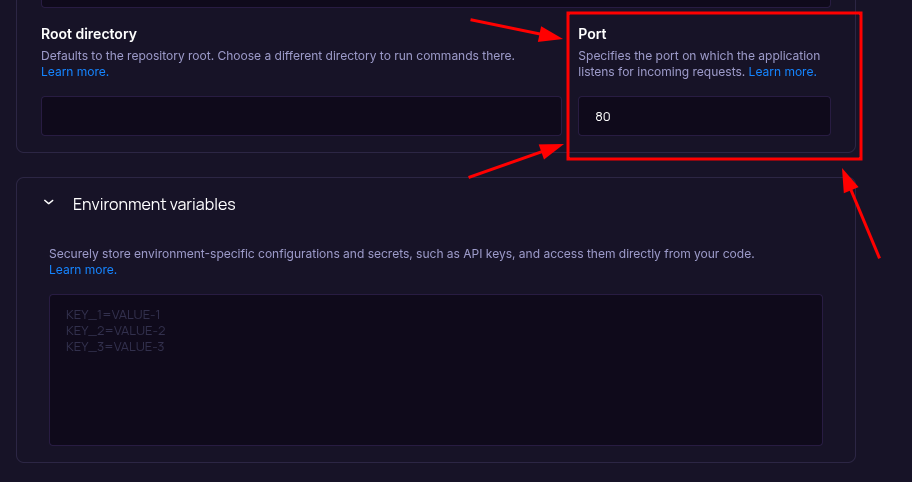
The Port field starts empty, so set it during setup to the value your app uses (for example,
80). Ensure your application binds to the same port (for example,--bind 0.0.0.0:80). Do not rely on aPORTenvironment variable; seenode routes using the configured Port input.- Build Command:
Choose Pricing Tier
Select your preferred instance size and create the service.
Deploy
Click Create Web Service and watch logs until your web service is live.
Success
Once complete, your application is accessible via your service’s URL.
Starting from Scratch?
Section titled “Starting from Scratch?”If you don’t have a Flask project yet:
Option 1: Use our Template (Recommended)
Flask Template
Deploy a minimal, production-ready Flask application with Gunicorn.Option 2: Create from Flask Docs + seenode Setup
Follow the official Flask documentation to create a new project, then return here for seenode-specific deployment steps.
seenode-Specific Setup Steps:
- Create
app.pywith Flask app - Add
requirements.txtwith Flask and Gunicorn - No additional configuration needed
Next Steps
Section titled “Next Steps”Now that your Flask app is deployed, here are some recommended next steps:
Set up a Custom Domain (Coming Soon)
Configure a custom domain to point to your new web service.Connect to a Database
Instantly scaffold and connect PostgreSQL and MySQL databases