

Creating a PostgreSQL Database
This guide will walk you through the process of creating a new managed PostgreSQL database on seenode.
-
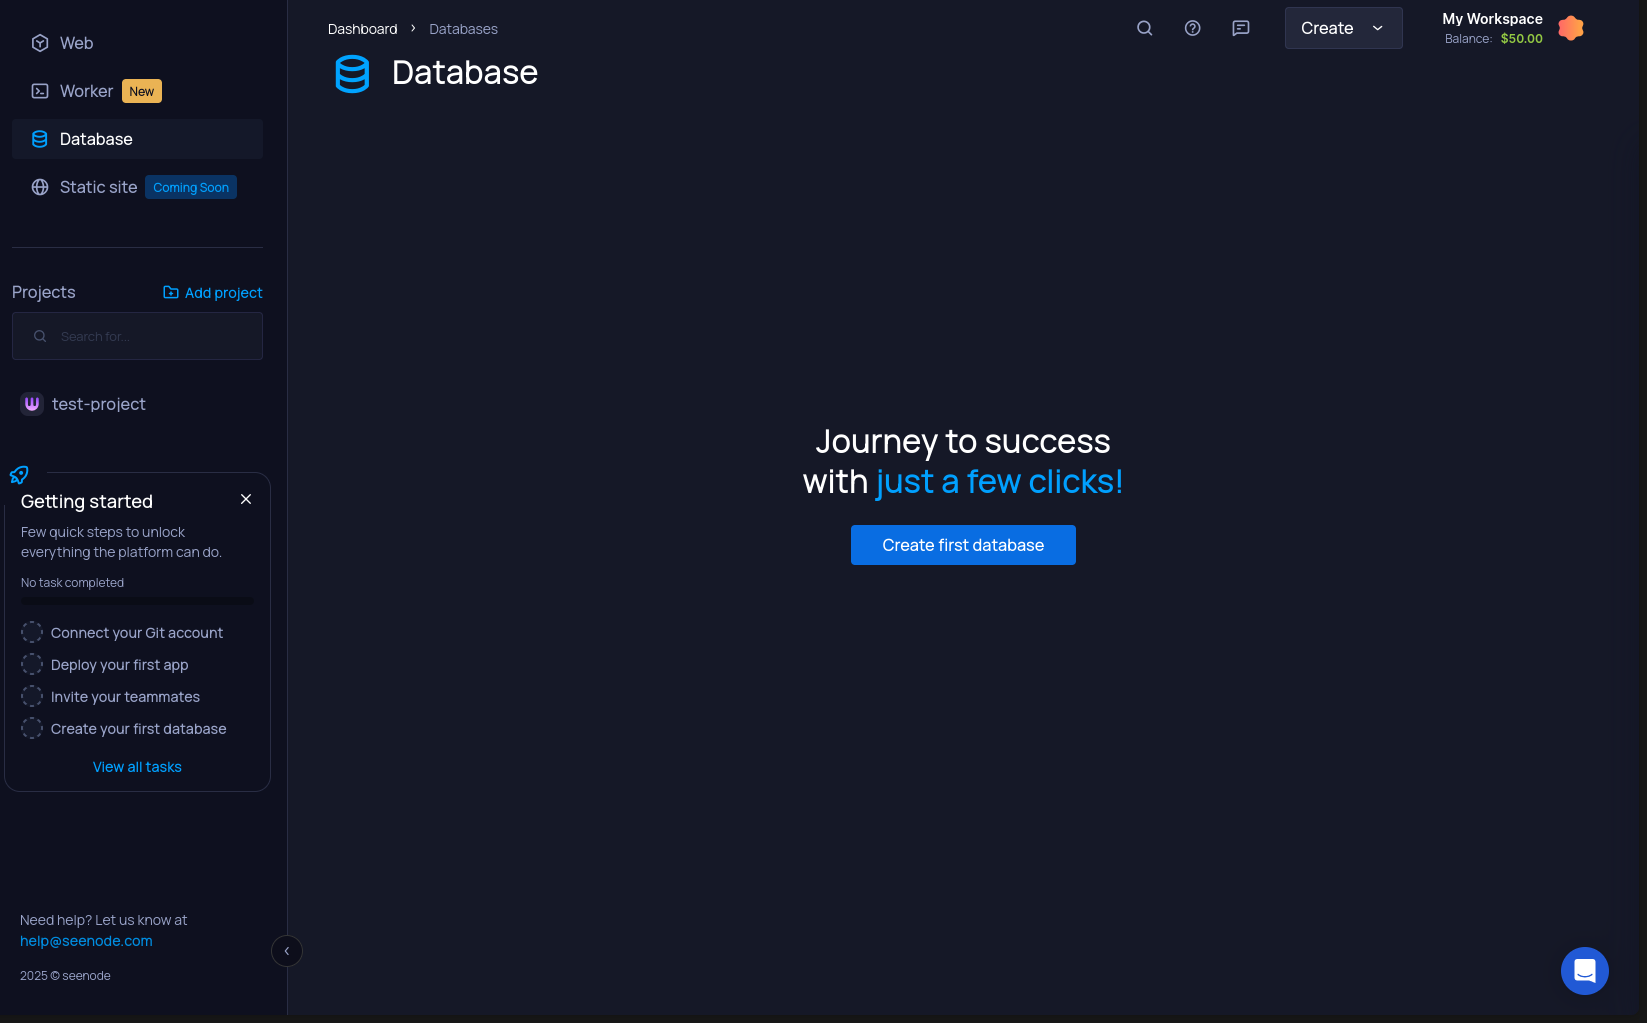
Go to the Database Tab
From your seenode dashboard, navigate to the Databases tab in the main sidebar.
-
Start the Creation Process
Click the “Create first database” button to begin.
-
Enter Database Details
Fill in the necessary details for your new database:
- Name: A unique, memorable name for your database.
- Type: Select PostgreSQL.
- Database Version: Choose the version you require.
After filling in the details, click Continue.
-
Choose Your Instance Tier
Select the instance tier that best fits your application’s needs. The table below outlines the available options.
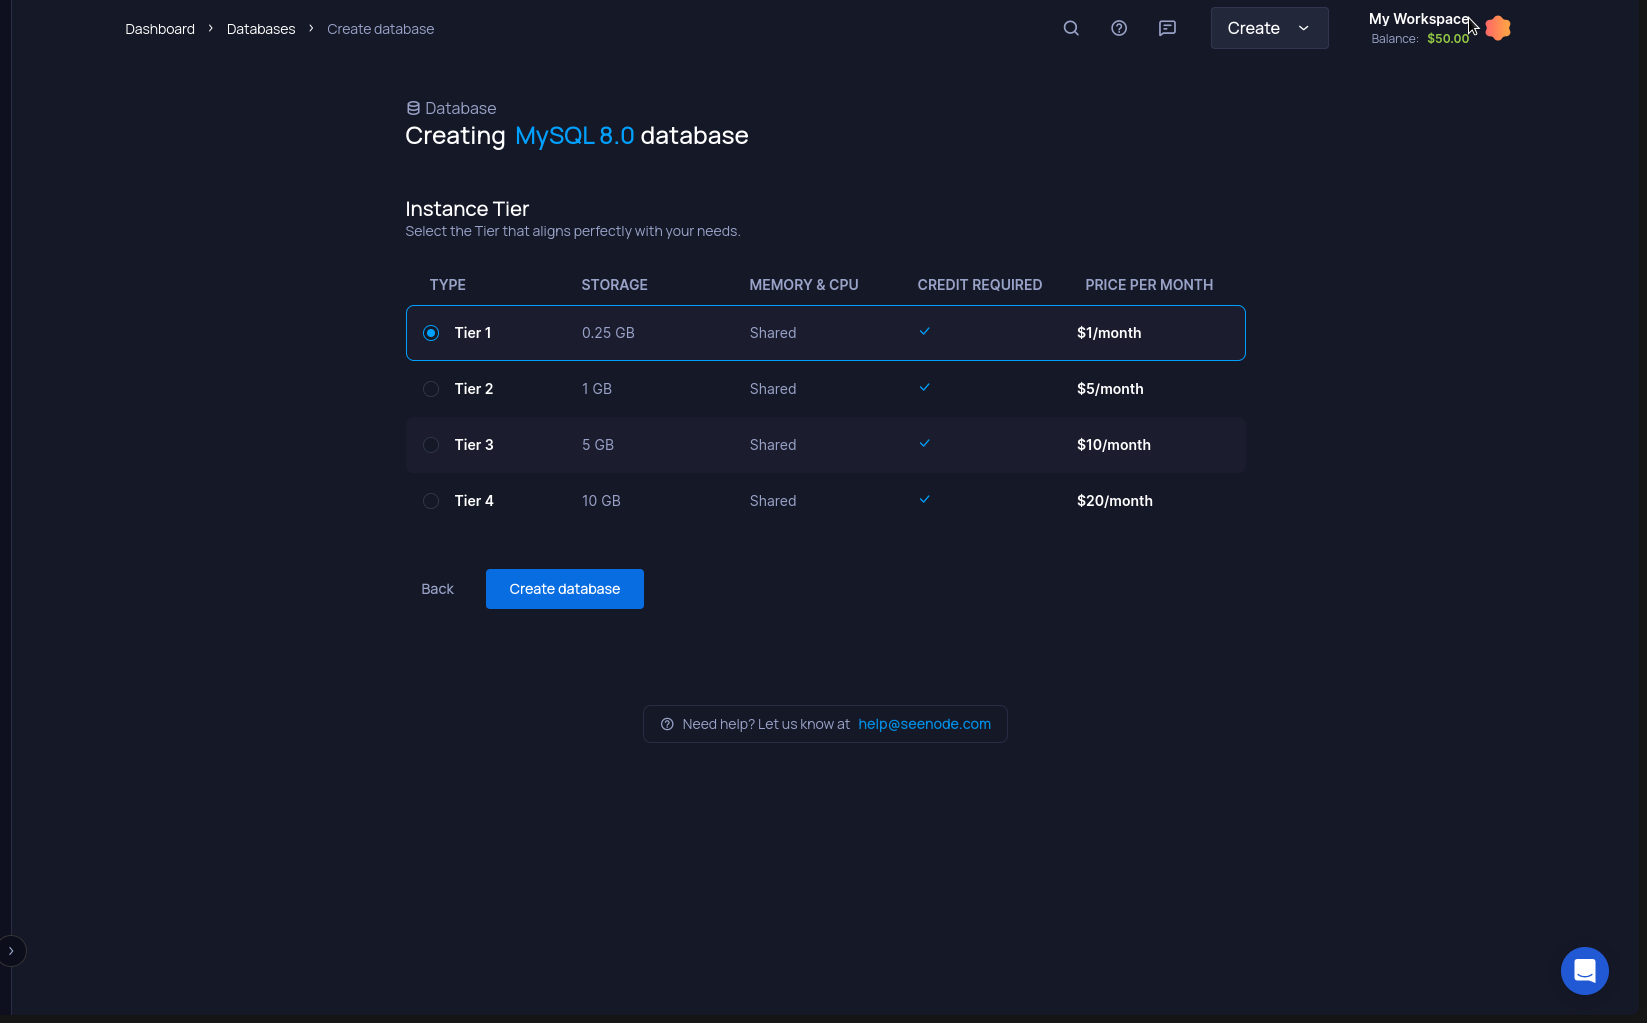
Tier Storage Memory & CPU Price per Month Tier 1 0.25 GB Shared $1/month Tier 2 1 GB Shared $5/month Tier 3 5 GB Shared $10/month Tier 4 10 GB Shared $20/month Once you’ve selected a tier, click “Create database”.
-
Database Ready!
Your new PostgreSQL database instance will be provisioned and running in just a few moments.
From the database dashboard, you can now:
- Access your database with the provided connection parameters.
- View storage metrics and other performance details.
- Upgrade your tier at any time.
- Assign the database to your projects.