

Getting an API Key
The seenode API allows you to manage your resources programmatically, giving you the flexibility to automate and streamline your workflows. Whether you’re integrating with a CI/CD pipeline or managing infrastructure at scale, the API makes it easy to interact with your services.
Here’s a quick walkthrough of the process:
-
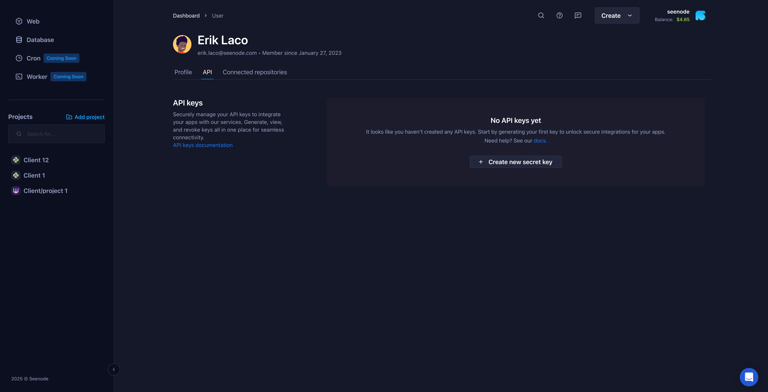
Navigate to API Settings
Log in to the seenode Dashboard and go to your user profile. Select the API tab from the navigation menu, or go directly to User API settings.
-
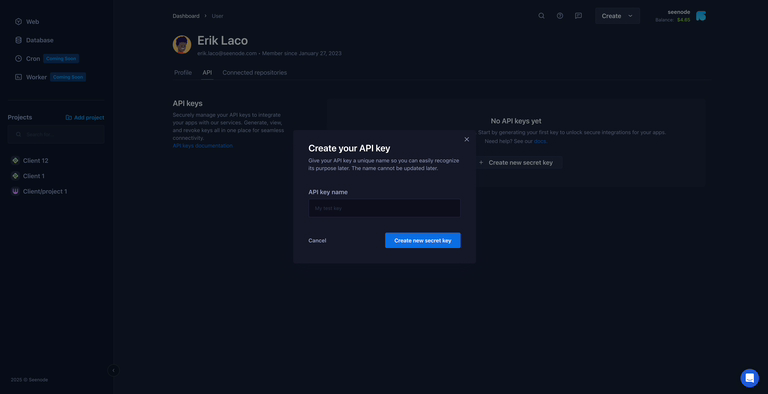
Generate a New Key
Click the “Create new secret” button. You will be prompted to give your key a descriptive name to help you identify it later.
-
Copy Your Key
Your new API key will be displayed on the screen.
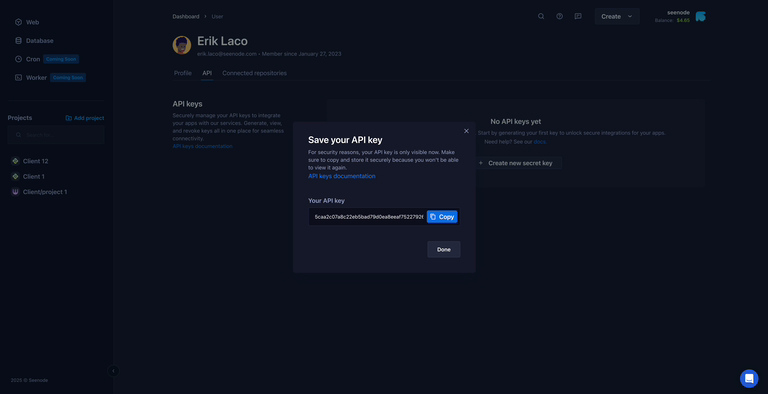
For security reasons, your API key is only visible once. Make sure to copy and store it in a secure location, as you will not be able to see it again.
Using the API
Section titled “Using the API”With your API key, you can now make requests to the seenode API. Use the key in the Authorization header as a Bearer token.
Here is an example of how to list the teams you are a member of:
curl -H "Authorization: Bearer <your_key>" https://api.seenode.com/v1/teamsA successful request will return a JSON object containing a list of your teams:
{ "teams": [ { "id": 123456, "name": "My Awesome Team", "created": "2023-10-26T10:00:00", "membersCount": 5, "servicesLimit": 20, "billingThreshold": 200, "freeTrialAvailable": false, "freeTrialEnds": null, "icon": "1" } ]}